|

Building an iPod Adaptor for Vintage Radios


Many vintage radios have a Phono jack in the rear that lets you connect
a record player. This inexpensive adaptor lets you plug an iPod or similar
audio device into that Phono jack and play new music through your old radio.
This adaptor was first designed for use with an iPod, but it can play from
any audio device that produces standard stereo output: an iPod, smartphone, bluetooth
player, MP3 player, and so on. It converts the stereo to mono and it also
electrically isolates your player from the radio chassis, providing a safety
benefit. Best of all, the adaptor requires no power!
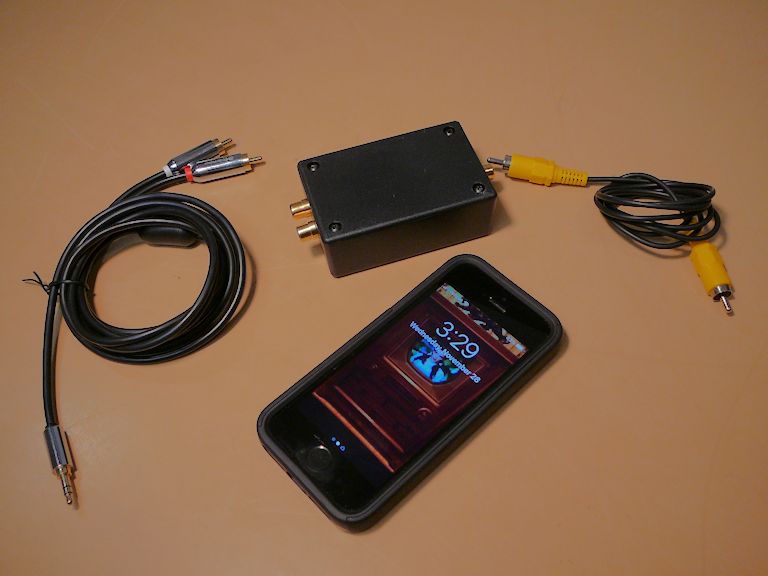
Here's a photo of the finished adaptor, built in a little plastic project box.
The photo also shows my iPhone and two cables for connecting the adaptor. One cable goes
from the phone's earphone jack to the adaptor and the second goes from the adaptor to
a radio's Phono jack.
Schematic and Parts List
The adaptor can be built in an evening and it uses common parts costing less than $20.
For your convenience, I listed Mouser's
part numbers for these items. Note that Mouser may change part numbers or discontinue products,
so if you don't find those exact part numbers, search
www.mouser.com or another
supplier for equivalent items.
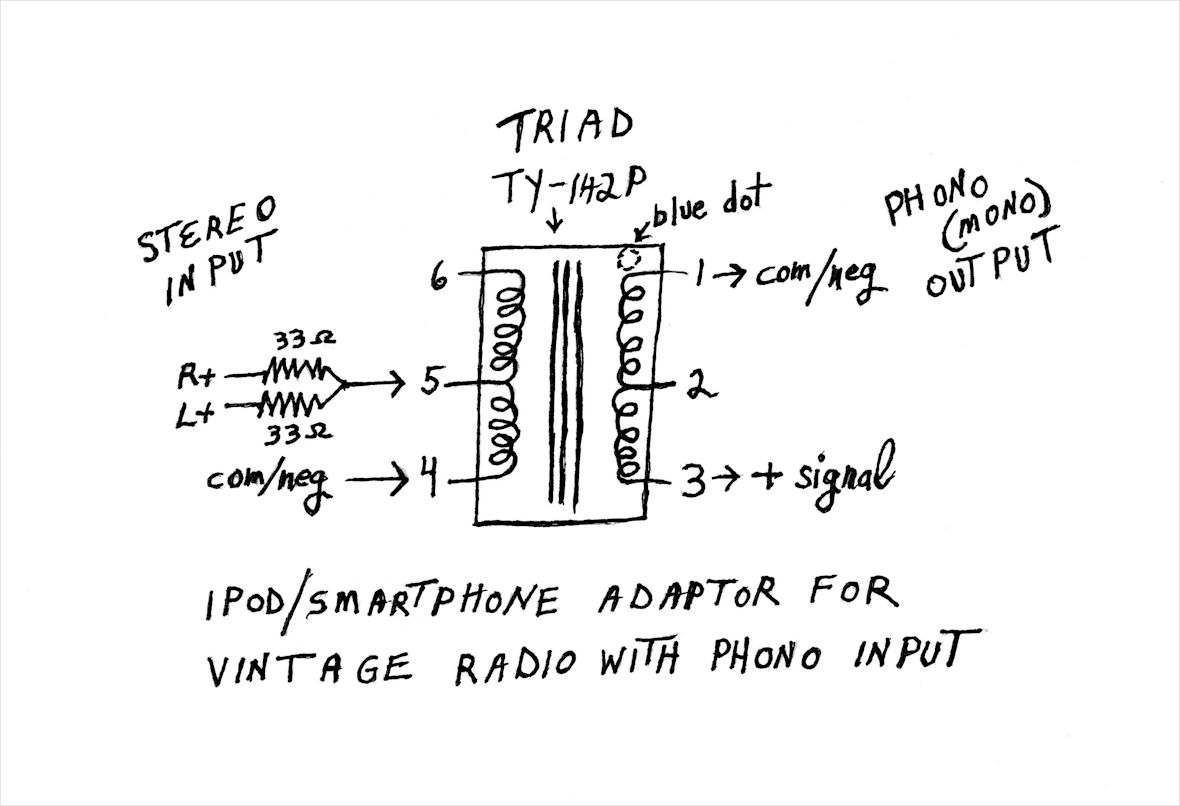
Here is the schematic diagram:
Building the iPod Adaptor
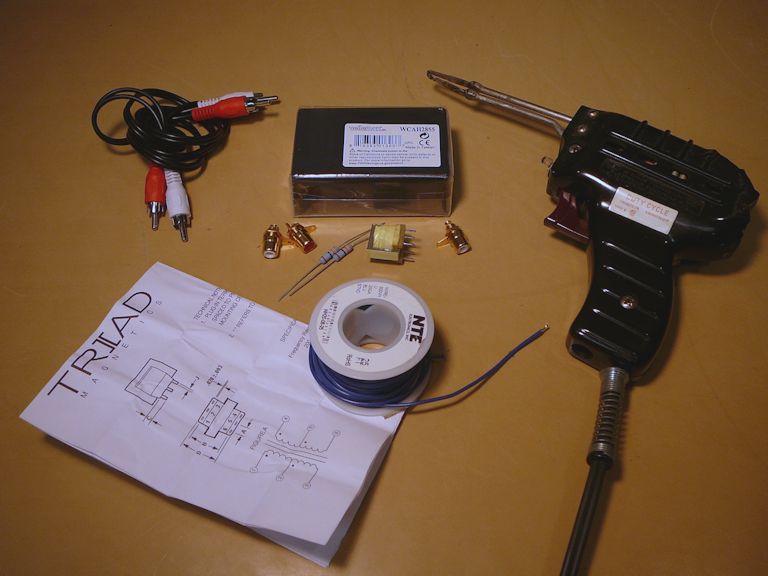
In this simple adaptor, the layout of parts is not critical. I used a ready-made
plastic project box measuring 1x2x3 inches, but you can use any similar enclosure. Here's a photo of
parts before assembly:

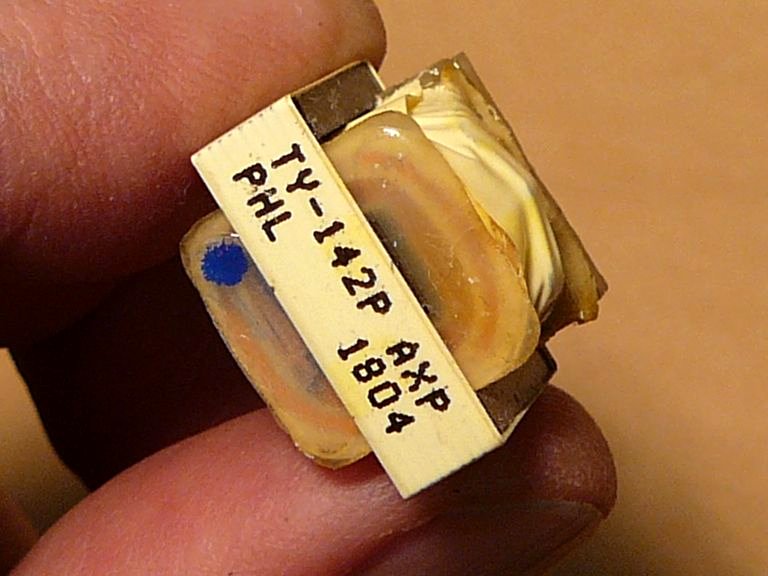
The heart of the adaptor is an audio transformer, a Triad TY-142P that costs about
five bucks. It's designed for mounting on a PC board, but you can wrap wires around its
pins and solder them on. Note the blue dot, which identifies pin 1 of the six-pin transformer.


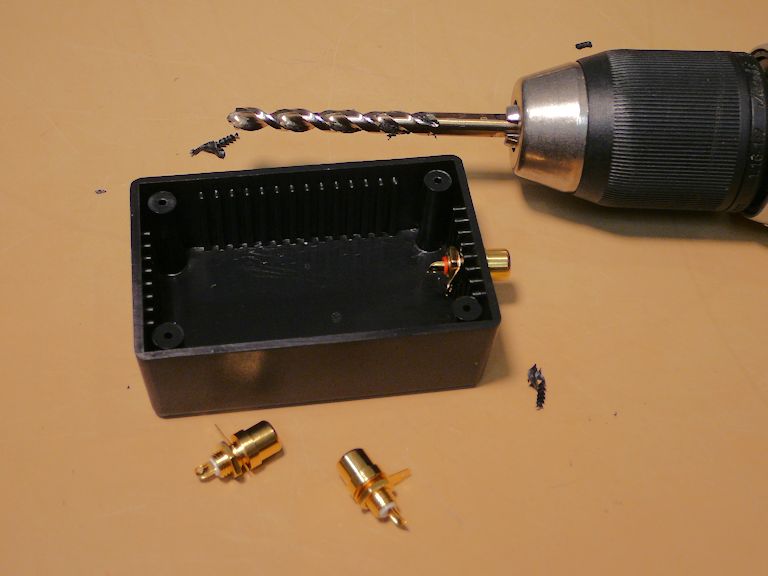
You need to make three holes in the box for phono jacks: two on one end for the
stereo input and one on the far end for monophonic output.
I drilled holes using a 1/4-inch bit. You could also melt holes with a soldering iron.

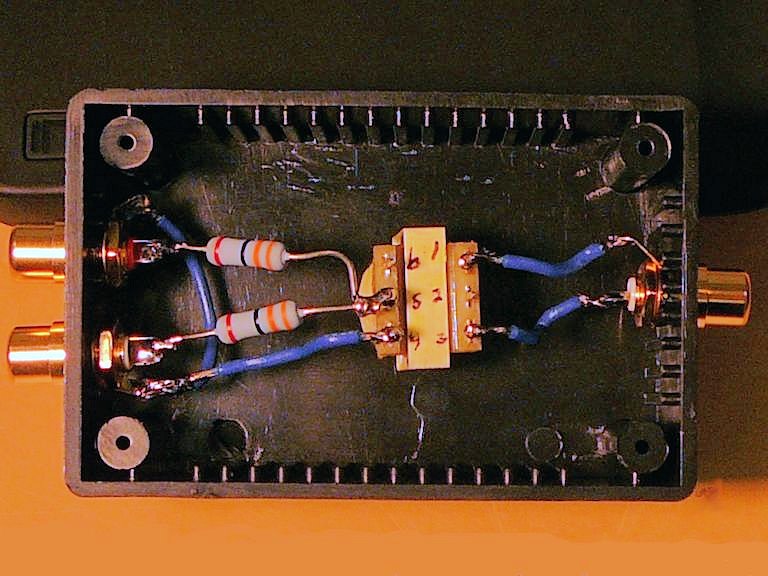
I installed the jacks and connected the parts using point-to-point wiring:
This parts layout resembles the schematic shown earlier. I numbered the transformer pins to help prevent
mistakes (from this view, the transformer's blue dot is behind pin 1). The
negative terminals of the stereo input jacks connect to each other, and another wire connects
that common negative to pin 4 of the transformer.
The signal terminals of the stereo inputs (left and right channels) are joined through a pair of 33-ohm resistors that connect to pin 5; this combines the stereo channels into a single mono channel.
Pins 1 and 3 of the transformer connect to the output jack.
As shown earlier, the stereo input cables are plugged into the pair
of jacks on one end, and a single output cable connects between the
adaptor output jack and the Phono jack in the back of your radio.
I used phono jacks for the input but you can substitute a stereo mini jack
and matching cable for the input, if you prefer.
Using the iPod Adaptor
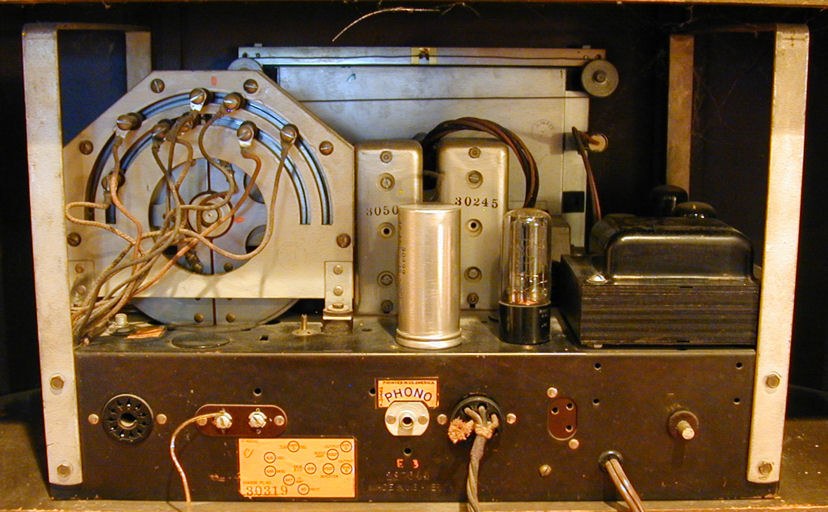
If your radio has a jack labeled Phono, simply plug
the adaptor's output plug into that jack and switch your radio to Phono mode.
For instance, here's the Phono jack in the back of my
Stromberg-Carlson 440M console:
The iPod adaptor mixes the stereo input to mono and it electrically
isolates your player device from the radio chassis, preventing
damage to the player.
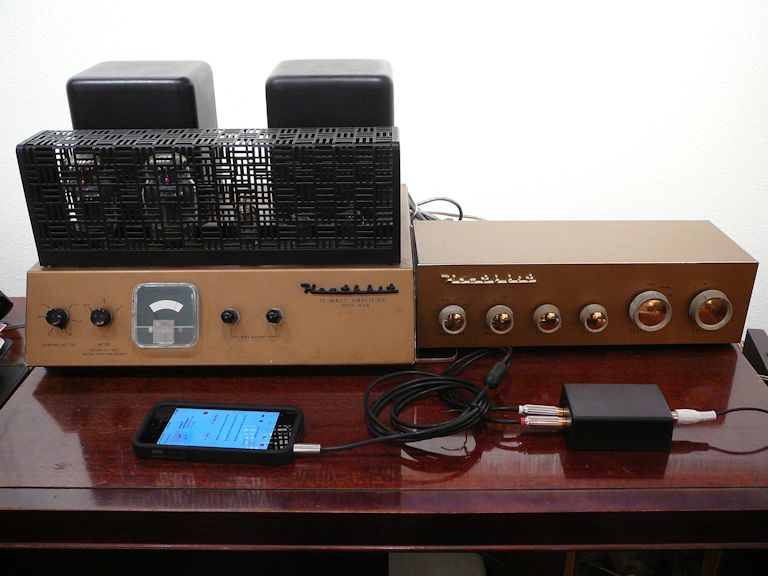
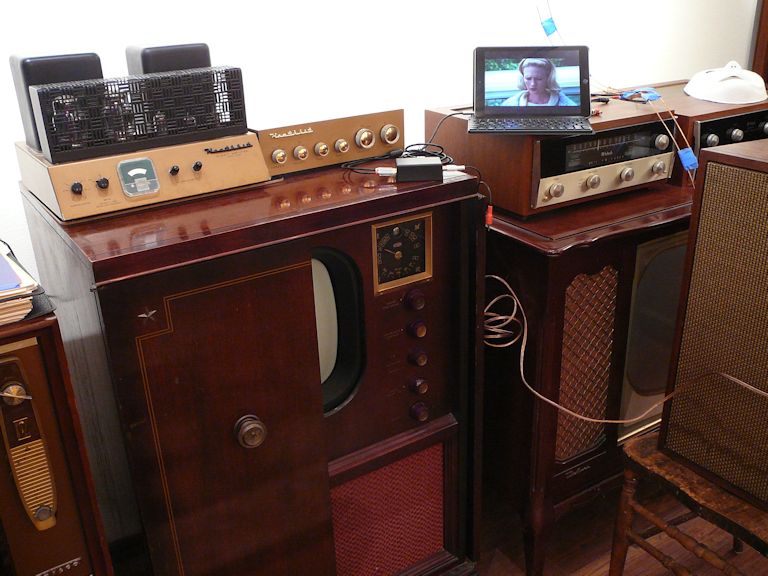
Here, I'm trying out my new adaptor by playing it through my
Heathkit W-6M mono amplifier hooked
to a temporary speaker. In the first pic, I'm playing music from my phone.
In the second, I'm playing a movie on an iPad. (These photos were taken in
my Radio/TV Display Room.)

This adaptor produces good audio quality. The Triad transformer is rated
with a frequency response from 200 to 15,000 Hz, approximating the range of human
hearing.
Your ultimate audio quality will depend on the quality of your
radio's audio output section. Not all radios are created equal, so naturally a
high-end console radio with a big speaker and sophisticated audio circuitry will sound
better than a cheap tabletop with a dinky speaker and rudimentary electronics.
A few 1940s radios, such as my 1940 Zenith 12-S-471,
have rear jacks labeled TV or Television.
These are ordinary audio input jacks, designed for use with pre-war
TVs that lacked built-in audio. If your radio has a TV jack, you can use it
like a Phono input.
Credit Where Credit is Due
I built this adaptor using plans published in an Antique Radios forum
discussion.
The original 2011 plan (and original version of this article) used Radio Shack
transformers that became unavailable after Radio Shack's business tanked.
In 2018, the Triad transformer was found to be a good substitute and I updated
this article.
Thanks to ARF forum members for the good ideas!
This radio construction project, including all descriptions, diagrams, photos, and the underlying electronic design, is published here for the noncommercial use of radio hobbyists. You may print and reproduce these project instructions for your personal use. Commercial use of this material is not authorized.
|