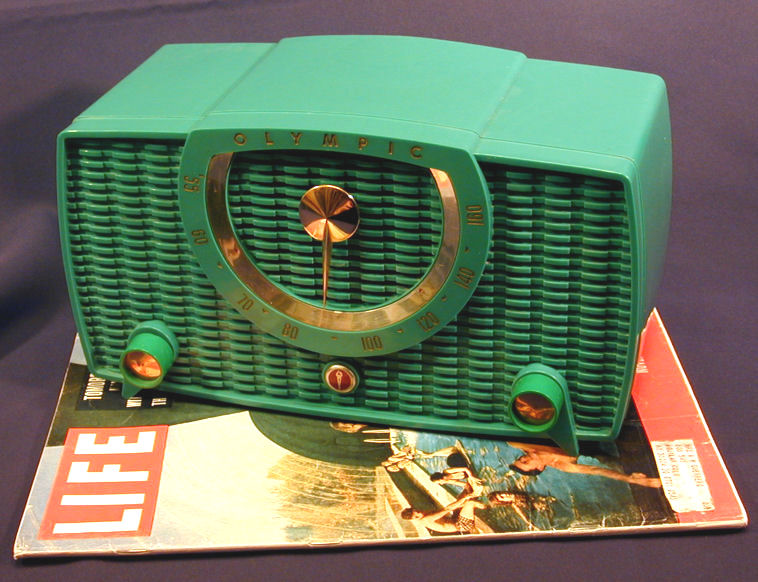
Olympic Model 441 Plastic Radio (1958)


This 1958 Olympic model 441 radio is a real eye catcher, with a boldly sculpted
grille and contrasting gold trim. The cabinet is made of plastic and Olympic
offered it in seven colors: light blue, gray, green (like
mine), ivory, maroon, red, and a dark walnut brown. Some of the colors, such as
blue and ivory, have silver rather than gold trim.
I bought this radio at a Seattle swap meet in Summer, 2011. The radio worked as
found, but I restored the electronics to ensure reliability and top performance.
Here is my restored Olympic 441:
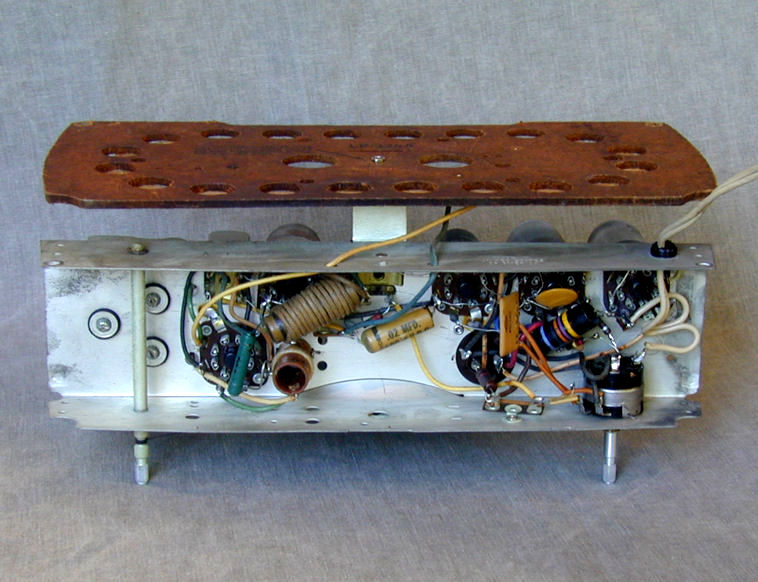
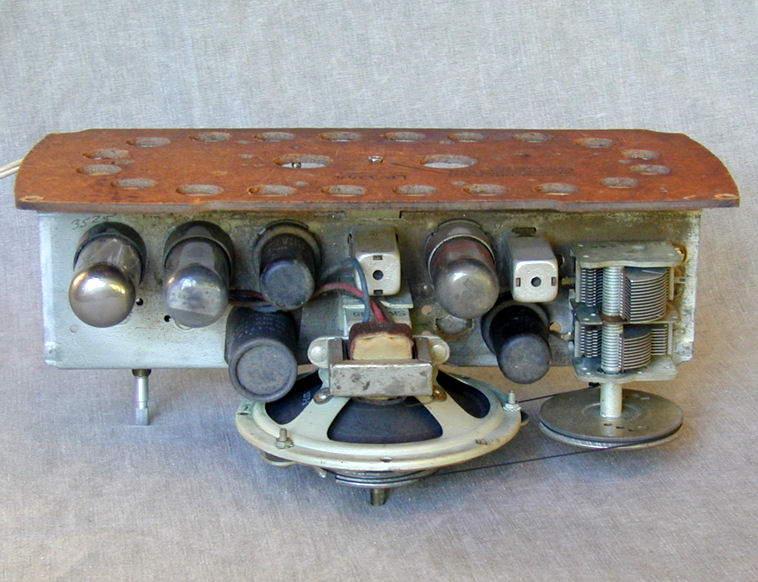
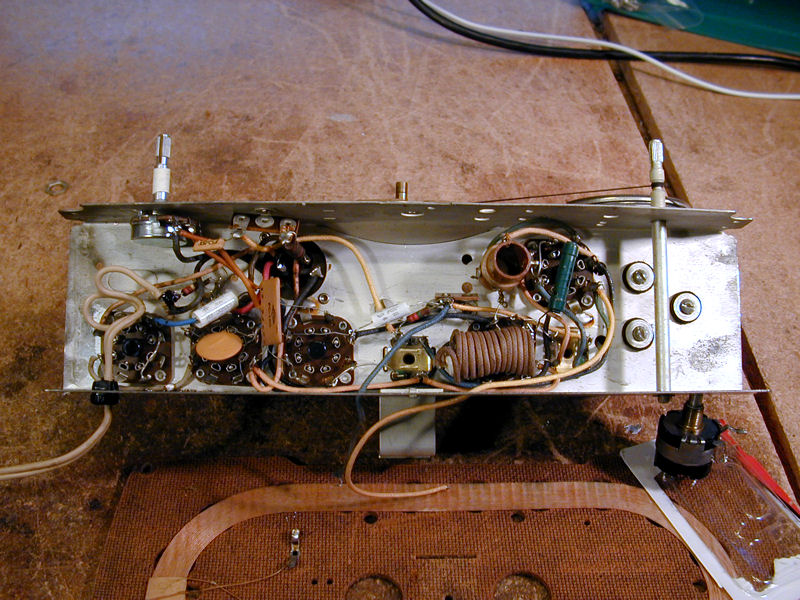
The next photos show the chassis from the top and bottom before I did any
cleanup or restoration:
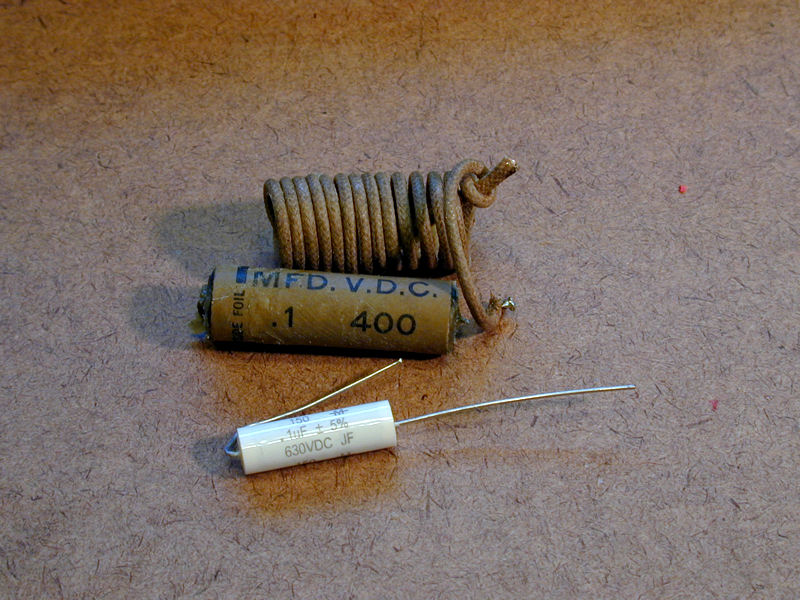
As with every vintage radio, replacing capacitors is
routine, and the most time-consuming part of electronic restoration. In the
next photo, you can see a rather unusual paper capacitor, which was originally
wound with an insulated wire to reduce interference. I have snipped
the leads and placed it next to the shielding. Below the old cap sits the new
one that I'll place inside the coiled shield wire.
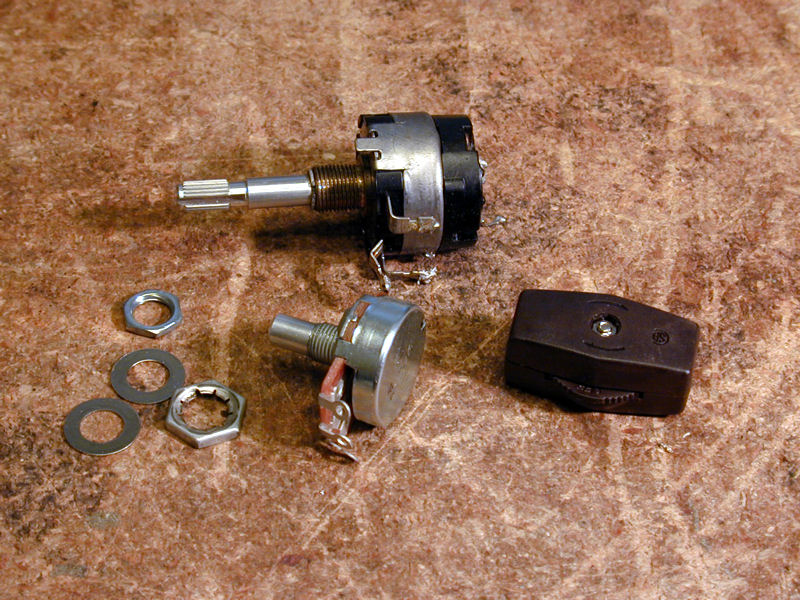
As in many radios, the volume control is ganged with the power switch. On
this set, the volume control worked fine, but the power switch was broken,
so that the radio was always on, even when the switch seemed to click into
an Off position.
In some cases, the switch portion can be snapped off the end of the
volume control case and replaced separately. In this control, the
two components were riveted together. I was unable to find the correct
value (500K ohms) of potentiometer with a built-in or snap-on switch,
so I decided to install a plain potentiometer and use a line cord
switch to turn the radio on and off.
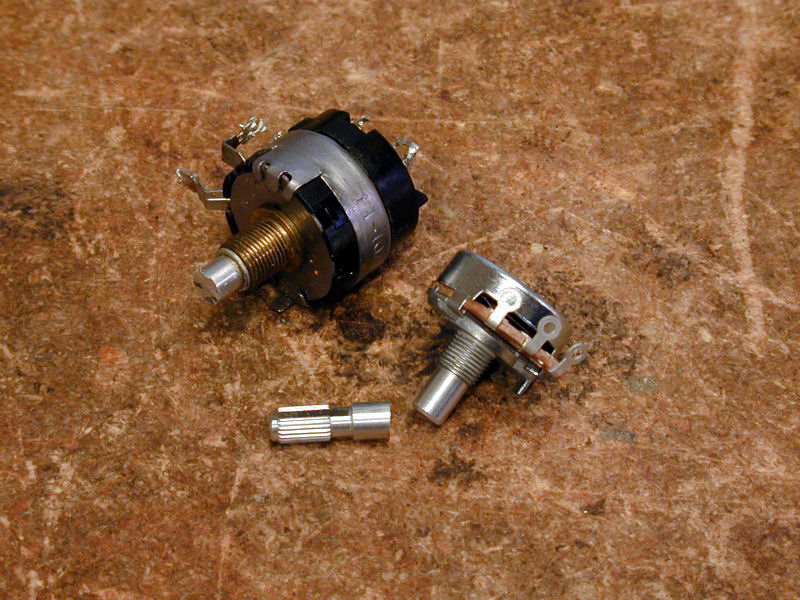
The new potentiometer was the right resistance value but its shaft is shorter
than the original, whose end was also grooved.
This photo shows the old control on top, the new one on the bottom,
and the line cord switch.
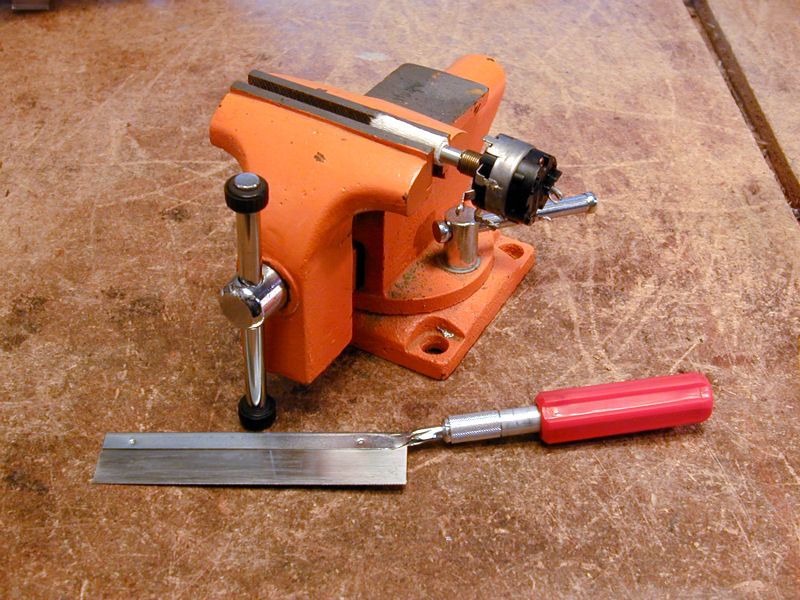
Next, I cut the end off of the old shaft:
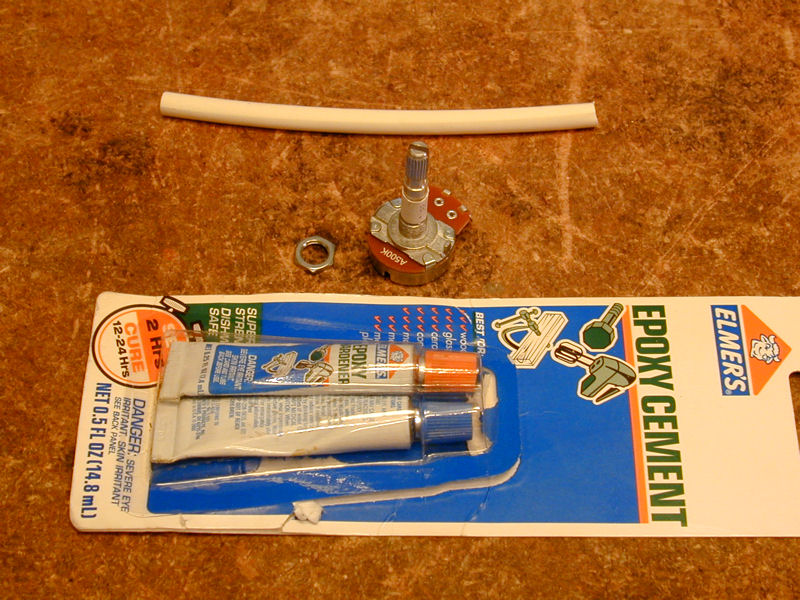
Then I glued the shaft extension onto the new shaft with epoxy. When doing this,
the extension needs to be glued on straight, or else the knob will wobble when
turned. To ensure correct alignment, I slipped a short piece of white shrink
tubing over the glued joint and warmed it with a heat gun until it shrank
tight.
The final photo shows the chassis after I had replaced the potentiometer,
paper capacitors, and couple of resistors that had drifted to unacceptable
values. I also cleaned the chassis, tested the tubes to ensure that they
were strong, and lubricated the tuning mechanism.
Cleaning and polishing the cabinet was rather tedious, but the result was worth
the effort. All of those tiny recesses in the cabinet front had collected a lot
of grime over the years! I began with a toothbrush and isopropyl alcohol,
getting out as much dirt as I could. The toothbrush couldn't reach all the way
into those corners, however, so I had to go back over the front with toothpicks,
picking residue out one corner at a time.
These radios are not especially rare, and their electronics are quite
conventional for the time. By 1958, however, engineers had basically perfected
five-tube AM radio design, and this radio performs very nicely.
Green is a somewhat unusual color for radios and I like it a lot. If
this cabinet had been one of the other six Model 441 colors, I probably wouldn't
have wanted it. I own a few other green radios, including a
Westinghouse H-7424 and a Sparton 325T clock radio.


|